Sharing the Management of Field Values in a SharePoint List
Consider creating separate custom lists to manage the drop-down, radio buttons, or checkbox selections you have in your custom SharePoint lists.
I have created custom SharePoint lists for clients. Sometimes I have a “choice” column in the list that has a set of choices that, for numerous reasons, requires the acceptable values to be changed somewhat regularly. As the site administrator or creator of the list I wind up getting frequent requests that require the values in the list to be managed. An individual request is no big deal. But when you start to add up the requests the churn can be somewhat distracting. And toss in an occasional “urgent” change request, and the distraction or randomization factor jumps way up. Putting in a bit of extra time up front can save you time and increase client satisfaction.
When you set up the separate custom list, or secondary list, you will be able to refer to that secondary list when you are defining your primary custom SharePoint list.
Setting up the Secondary Custom List
In this example I’ll work with an Office 365 SharePoint Online installation. If you’re working with an older instance of SharePoint the exact menus may be different but the steps are effectively the same.
First, create a Custom List.
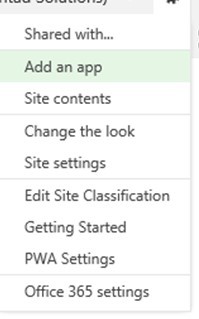
Click the gear icon, then click Add an app. (you may need to go to the Site Setting menu)
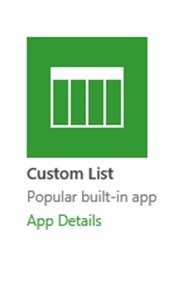
Select Custom List to add a new custom list.
Call this list “Return Reason”.
Add the Values to be Selected From
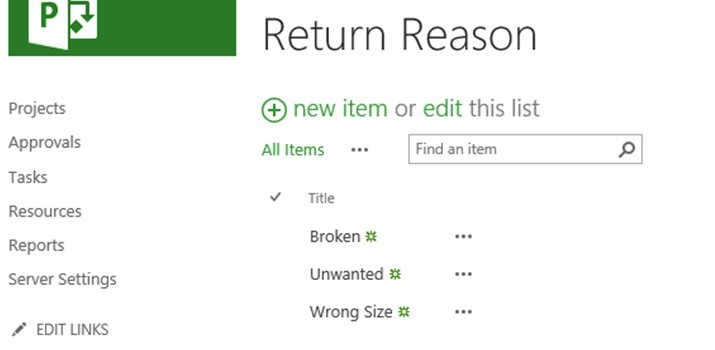
Let’s add three items to this list to start. At this point we don’t need to add any new columns. Make the first item’s title “Broken”, the next item’s title “Unwanted”, and the next item’s title “Wrong Size”. Your list should look like the following after this.
Using the Secondary List in Your Primary List
Now that you have set up the secondary list (Return Reason, in this example) you can use this to provide the list of values that are picked from when adding a new item to the primary list. So, let’s create our primary custom SharePoint list. We’ll repeat some of the steps above.
Create Another Custom List for the Primary List
Click the gear icon, then click Add an app. (you may need to go to the Site Setting menu)
Select Custom List to add a new custom list.
Let’s call this list “Items being Returned”.
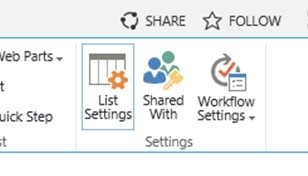
Go into the List Settings page for this new custom list. You’ll find this button in the “List” tab on the SharePoint ribbon.
Now, add the secondary list as a column in the Items Being Returned list.
Click Create Column on the List Setting page.
Let’s give this column the name of “Return Reason” too.
And select the information type for the column as “Lookup (information already on this site)”.
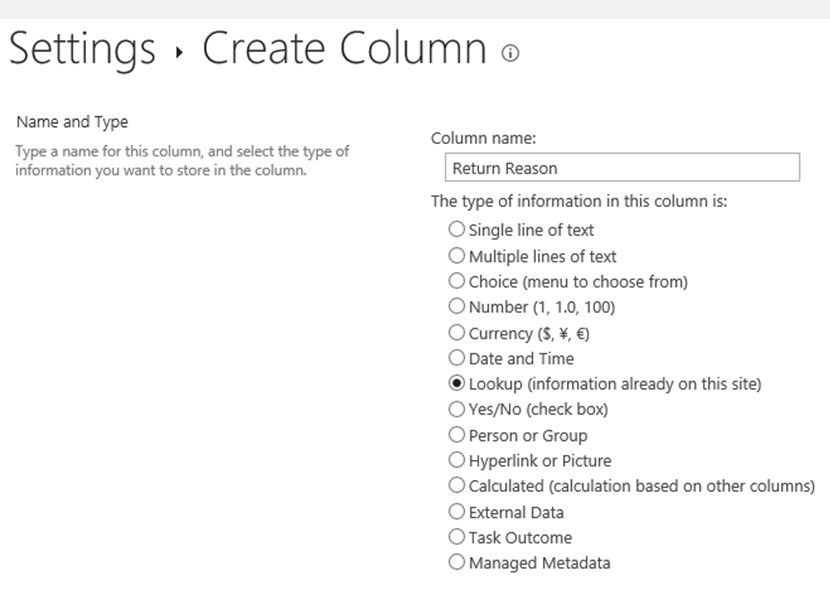
In the Get Information From field select the secondary list name. In this example, we used “Return Reason”.
In the In this column field leave the selection as Title.

Accept the rest of the default values and click OK.
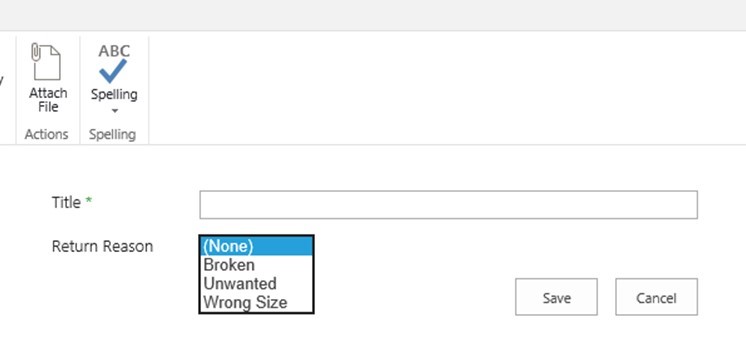
Now, when you add an item to the Items Being Returned list the choices for Returned Reason appear on the new item form.
Changing the values in the Return Reason Drop-down List
When you need to change the values in the Return Reason field you can do so by changing the items in the secondary list (we also called it Return Reason in this example).
To change an item, just edit that item in the secondary list. Note, when you change an item from this list you may need to go back into your primary list and clean up entries in the primary list that may have used the value being changed.
To remove an item from the drop-down list, remove the corresponding item from the secondary list. Note, when you remove an item from this list you will need to go back into your primary list and clean up entries in the primary list that may have used the value being removed.
To add an item, add an item to the secondary list.
The changes made in the secondary list will immediately show up on the standard edit form for our primary Items Being Returned list.
Permissions to the secondary list can be controlled separately from the primary list so you can open up the management of the list values to more people as it makes sense.
All in all, empowering your client to self-serve some basic list maintenance can increase their productivity and satisfaction while reducing the randomization and potential noise of frequent list value changes.
There you go.
Here are some related posts:
 Show the most recent comment from SharePoint text fields instead of “view items”
 SharePoint Workflow Error Occurring (Sometimes)
 How to Bulk Import to SharePoint from Excel with a Choice Field
 Editing Text in a SharePoint List View or Data View