This is a quick little tip that makes it really easy to move columns of data around in Excel. It’s basically a drag and drop operation – basically.
In the example below, we’ll just move the data in column C over to column B. When done, the column headings will be in order: First Column; Second Column; Third Column.
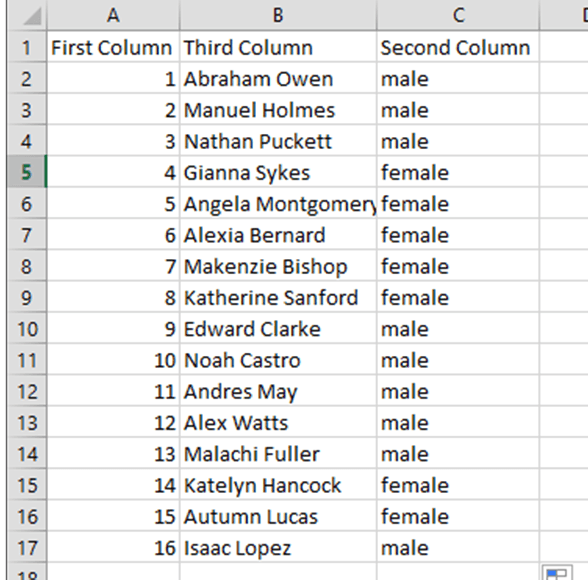
First, select the entire column. To select a column, click the column heading (one of the letters or double-letters). Don’t select a cell and try and highlight everything – just click the column heading. In this example, click the “C” so that we can move column C.
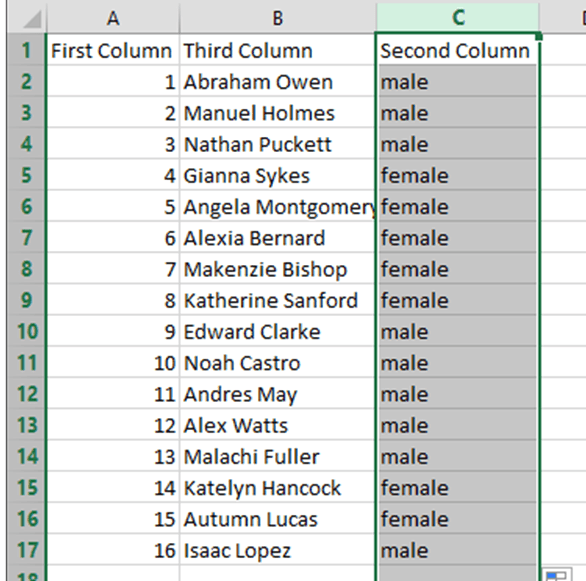
Next, hover your cursor over one of the green vertical bars that border column C. It will look like this: ![]()
While your cursor is over one of the vertical bars, press and hold the SHIFT key and press your left mouse button. Now move the cursor to where you want to move the column. In this example, we’ll move the cursor between column A and column B (“First Column” and “Third Column”).
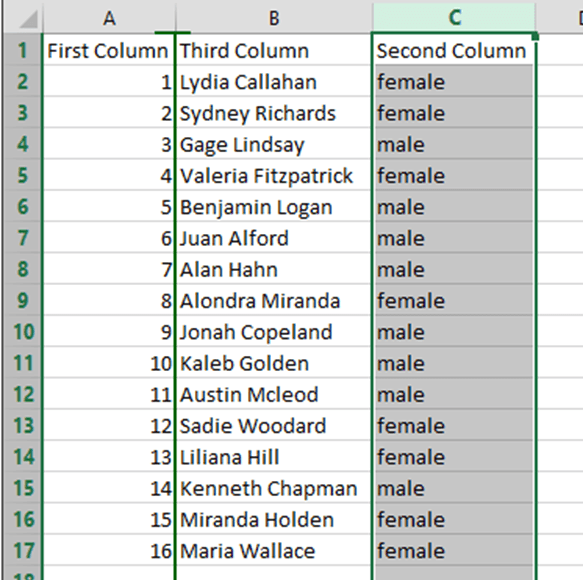
You’ll see a new green vertical bar appear. This is showing you where the column selected will be moved. Release the mouse button when the new vertical bar is where you want to move the column of data.
Excel will move the column you selected and insert the column to the new location.
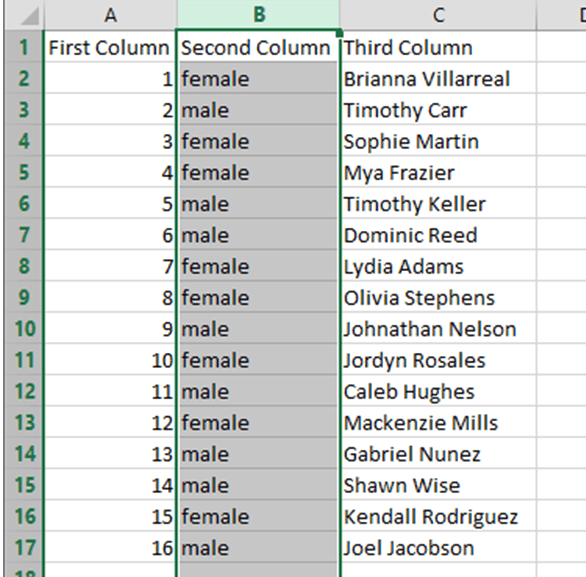
See, it’s basically drag and drop to move columns of data in Excel.
There you go.
Here are some related posts:
 Keep your row and column headings visible as you scroll in Excel
 How to add a drop down list in Excel to your worksheet
 How to reset or clear the last cell in Excel to make your worksheet smaller
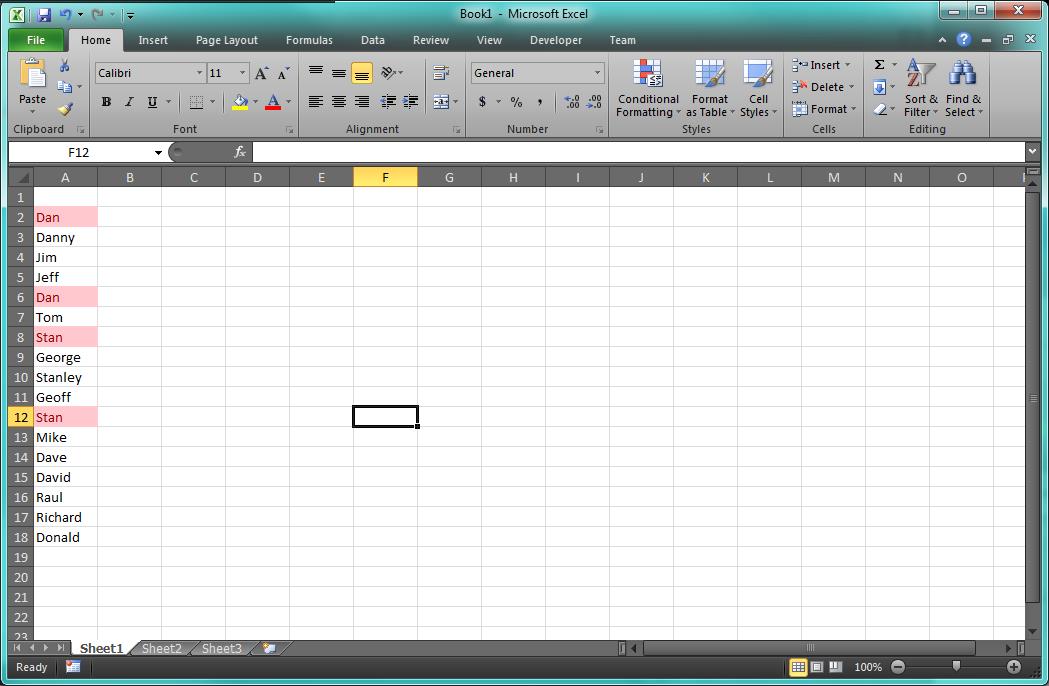 How to quickly and easily detect duplicate values in an Excel list
How to refer to a cell in Excel and have that reference remain unchanged
How to quickly and easily detect duplicate values in an Excel list
How to refer to a cell in Excel and have that reference remain unchanged