Note: This post describes some capability you only get by installing an add-in for Excel. The add-on used here is fully functional and free during its trial period – so you’d have plenty of time to try this out. The add-in is called Excel PowerUps Premium Suite and using the steps below you can create a little sentiment analysis tool using a feed from the Twitter API. A link to download the free trial is at the bottom of the page.
Note2: The Twitter API used as an example in this post has been retired. The new API requires authentication as well as only returning JSON instead of XML. I’ll be looking at adding both of these to the pwrWEBSERVICE and pwrFETCHXMLVIAGET functions in the weeks to come. When I do so I’ll update this post with the details.
The example illustrates using the following PowerUp custom worksheet functions that are available with the add-in.
- pwrURLENCODE
- pwrFETCHXMLVIAGET
- pwrSENTIMENT
- pwrFORMATXML
Each step is covered below, with a screen shot for each to make it easier for you to follow along.
Step 1
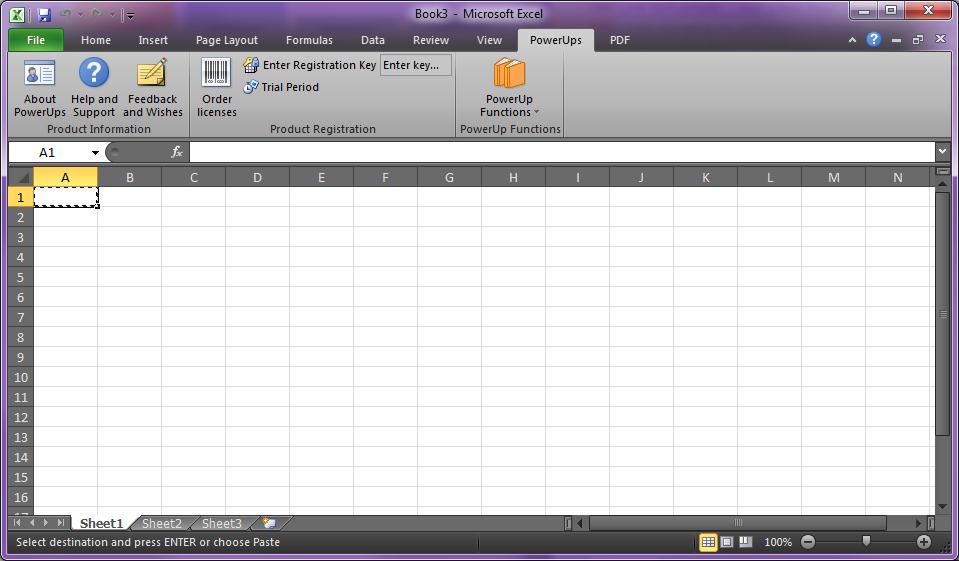
Start with a blank workbook.
Step 2
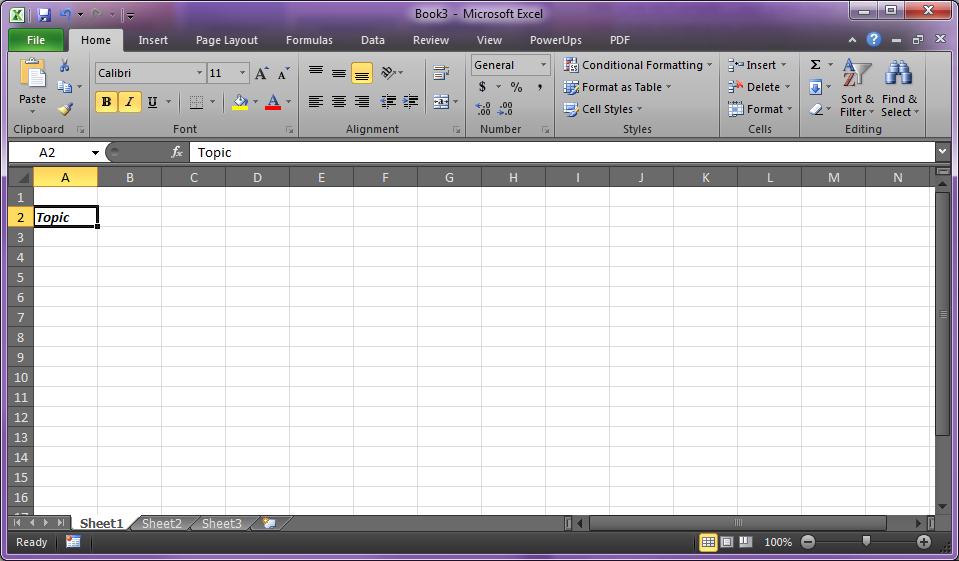
Insert a label in A2. Just call it “Topic”.
Step 3
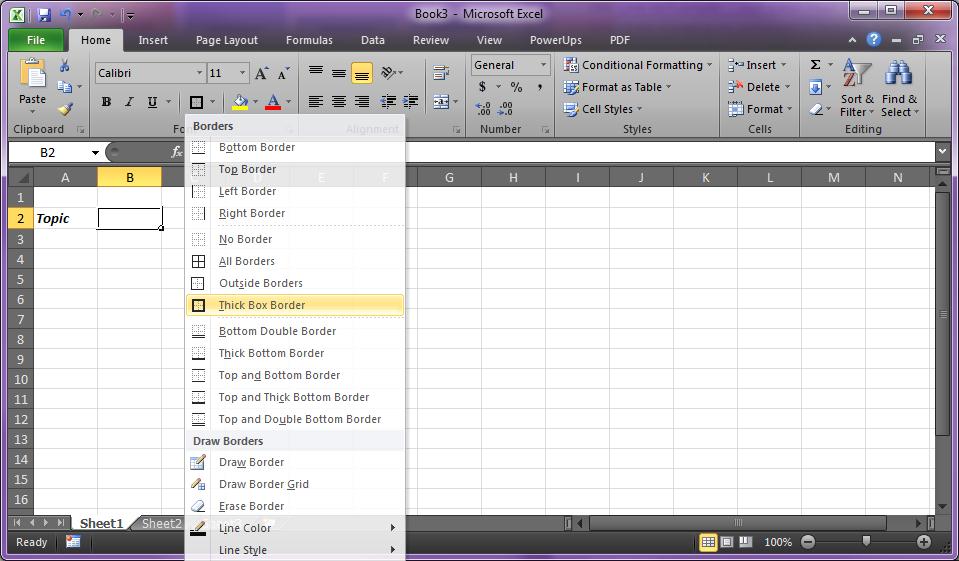
Highlight a box around B2. We’ll just create a visual place to type in your keywords later.
Step 4
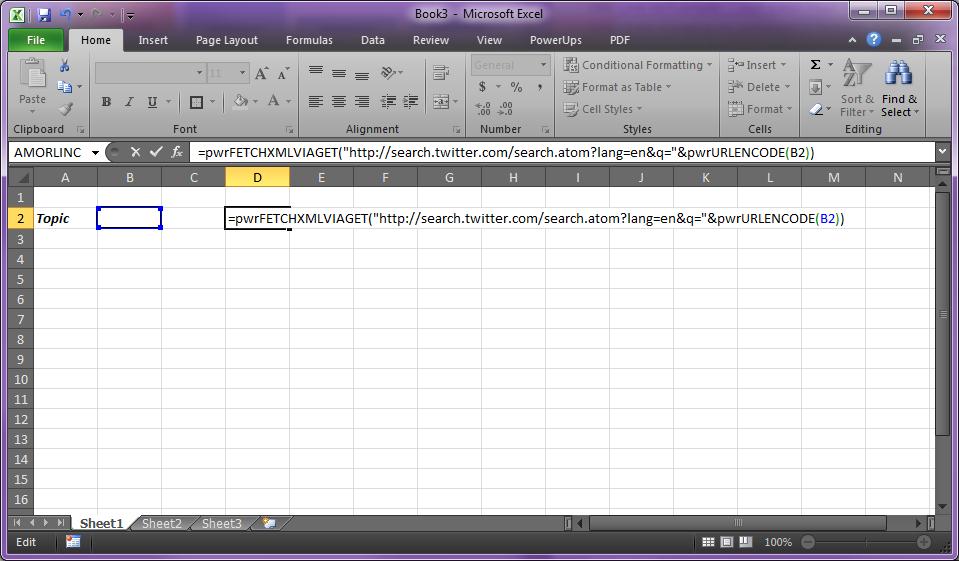
In D2, enter the following formula:
=pwrFETCHXMLVIAGET(“http://search.twitter.com/search.atom?lang=en&q=”&pwrURLENCODE(B2))
Let’s break that one down. pwrFETCHXMLVIAGET is a PowerUp function that calls an XML web service. For the sake of this illustration we chose the twitter search API which you can learn about at https://dev.twitter.com/docs/api/1/get/search.
pwrURLENCODE takes the value that will be entered into B2 and URL encodes it. These strings are concatenated together (“&”) to create the full API call to Twitter.
Step 5
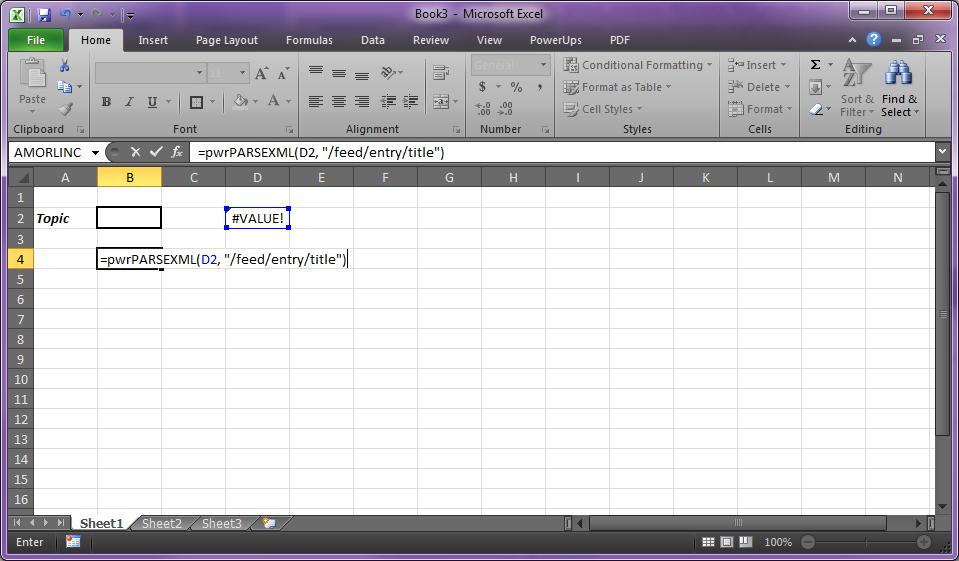
In B4, enter the following formula:
=pwrPARSEXML(D2, "/feed/entry/title")
This will run the XPATH query in the second parameter against the XML referenced in the first parameter. This will return the first item the query finds.
Note: As an aid to understanding the XML returned from the web service, you can use the pwrFORMATXML PowerUp function. You must push the Wrap Text button on Excel’s ribbon in order to see the XML in an outline form.
Step 6
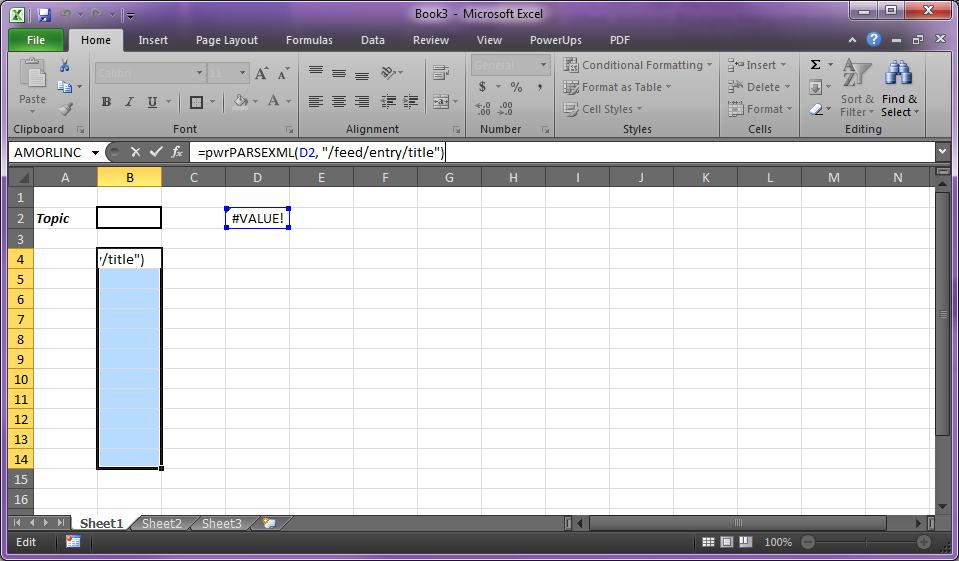
Next, highlight about 10 cells, starting at B4 and extend your selection down to about B14.
Step 7
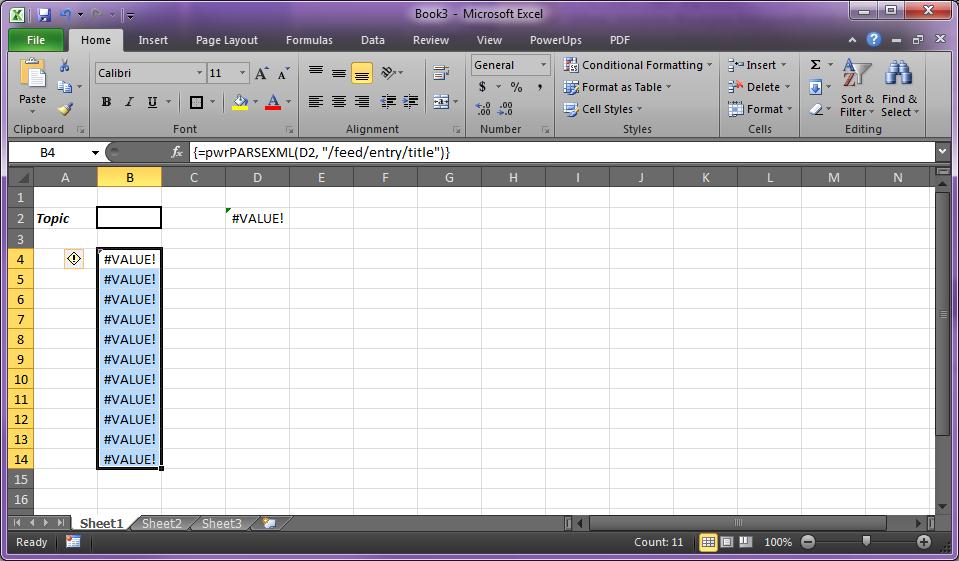
Click in the formula bar and press CTRL-SHIFT-ENTER to enter an array formula. When you successfully enter the array formula you see curly braces (“{ }”) surrounding the function you entered from step 5.
Step 8
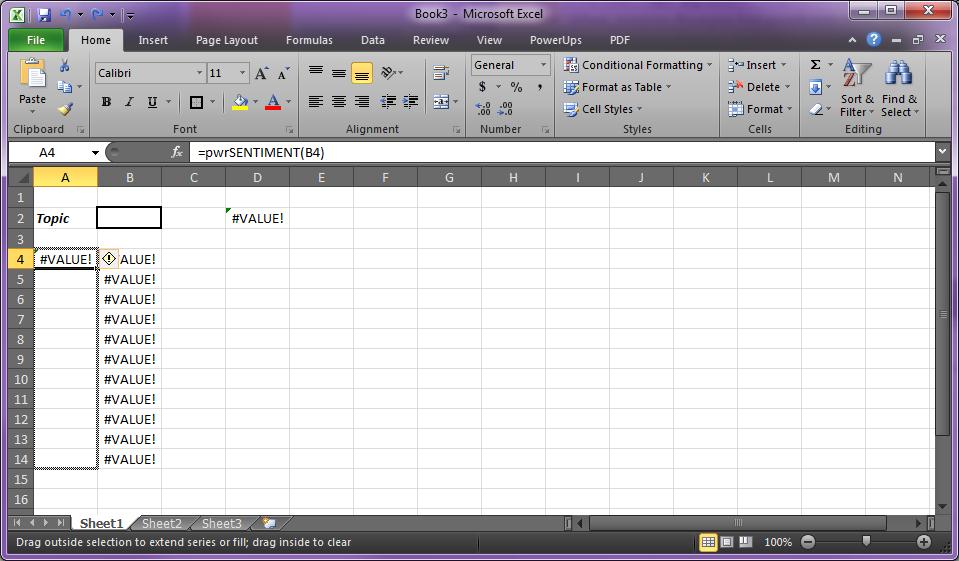
In A4, enter the following formula:
=pwrSENTIMENT(B4)
pwrSENTIMENT will scan the text referenced, do a sentiment analysis on that text, and return a value between -1 and 1. -1 being totally negative, and 1 being totally positive. A value closer to zero means neutral or undetermined sentiment.
Then, use Excel’s smart-fill feature to fill down to A14.
Step 9
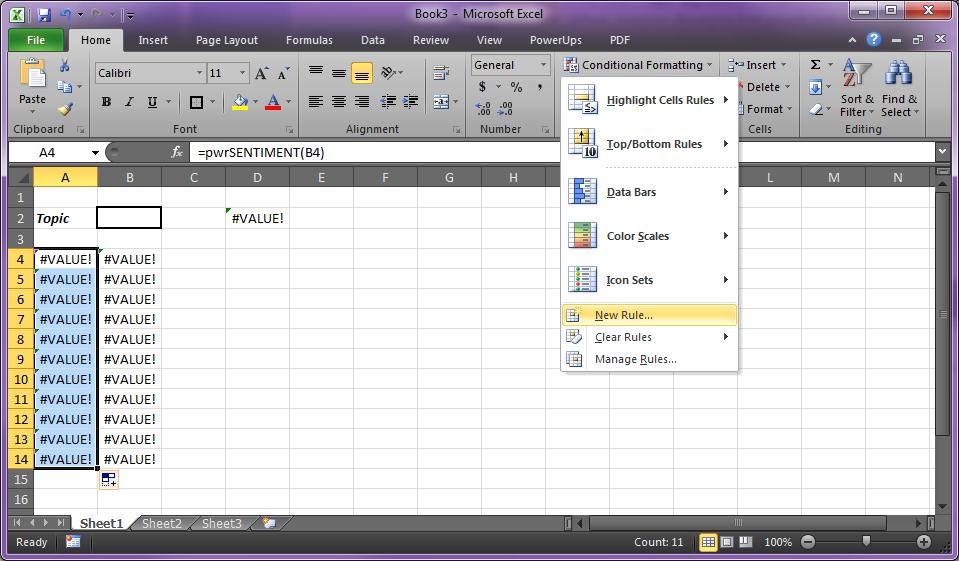
Almost there. To make it a bit easier to scan let’s just use Excel’s conditional formatting to add some color. Make sure you have cells A4 thru A14 highlighted. Then click Conditional Formatting, and then click New Rule.
Step 10
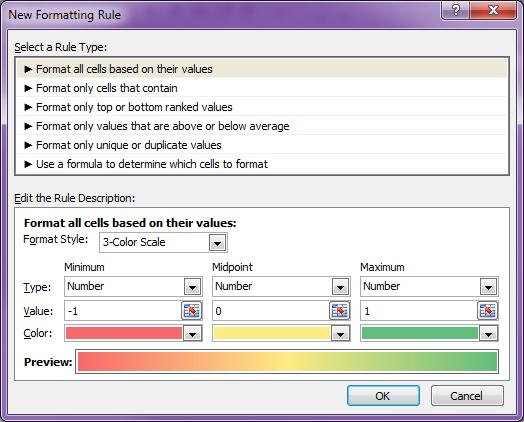
Set the values for Format Style, Minimum, Midpoint, and Maximum as depicted in the snapshot below. Pay close attention to the values in the Type and Value rows. When done, click OK.
Step 11
Since the return value from the pwrSENTIMENT PowerUp function is between -1 and 1, let’s format it as a percentage. Select A4 thru A14 again. Then click the % button. Nothing will change just yet.
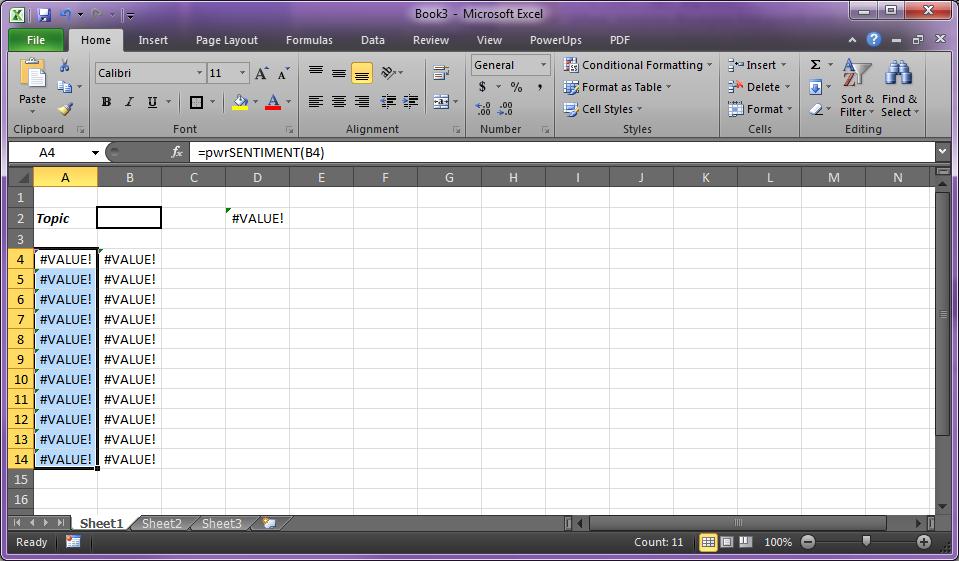
That’s it. You probably have a blank looking sheet similar to the image below.
Give it a try. Click in B2, and type a keyword or phrase. For example, type final four, and press ENTER.
You’ll notice the sentiment ratings are nowhere near exact. And you may find that for a given topic area, the threshold for ‘positive’ or ‘negative’ may vary for you. It’s ultimately up to you to decide how negative or positive a number indicates the sentiment. Put another way, how close to 100% does the value need to be in order to generally consider the text positive.
There you go.
To download the Excel PowerUps add-in, click here.
