You don’t need to buy a graphics package or download an app to create a nice looking box shot. You can create a box shot like the one pictured below using only Microsoft Word. Step-by-step instructions on how I created the images below are below. Now you can see how to create a boxshot using Word.
Boxshot Examples
This method would work to create any number of boxes, jewel cases, or even book covers. The examples below show two wire frame versions of a box and of a jewel case. Below that is the more final version.


Step by step instructions
Watch this brief video, or follow the step-by-step instructions below.
Step 1 – Create a box
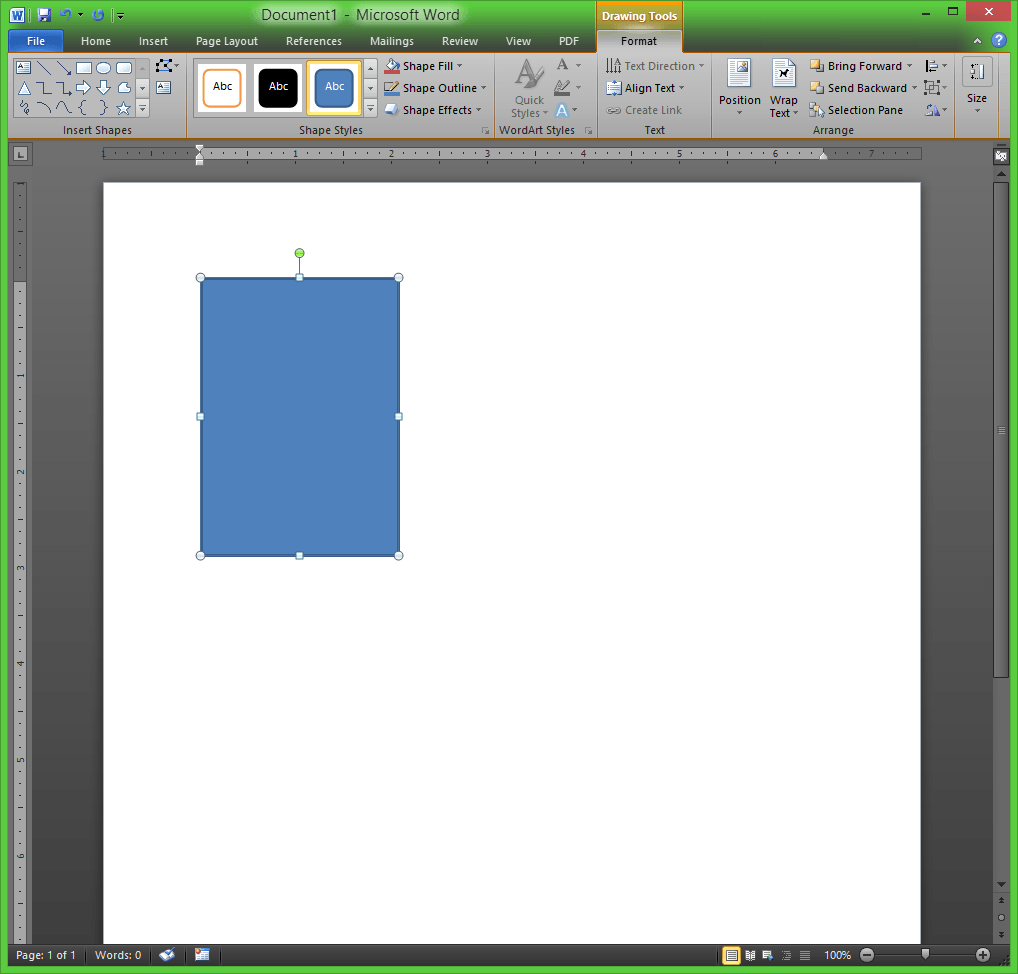
Create the box by inserting a rectangle shape. Go to the Insert tab, and click the rectangle from the Shapes button.
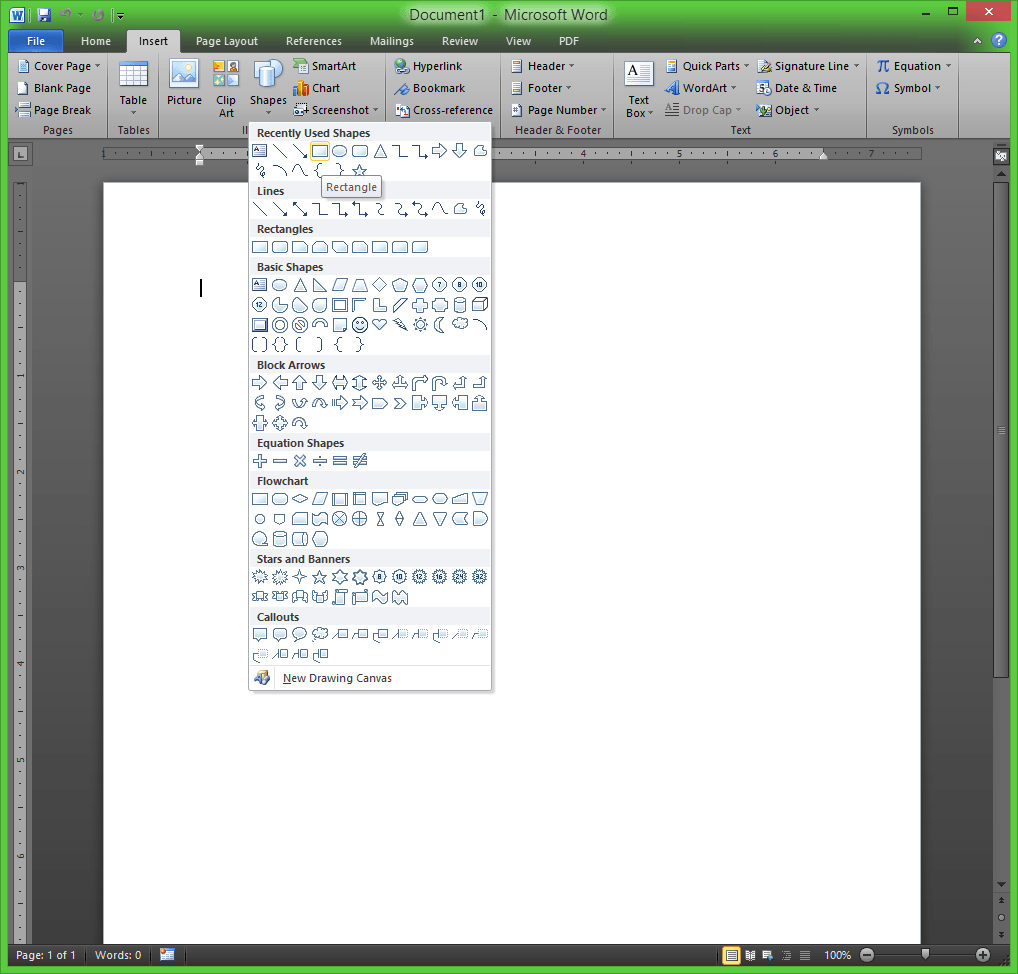
Draw a box of the shape you want. Make either a rectangle or a square.
Step 2 – Add text
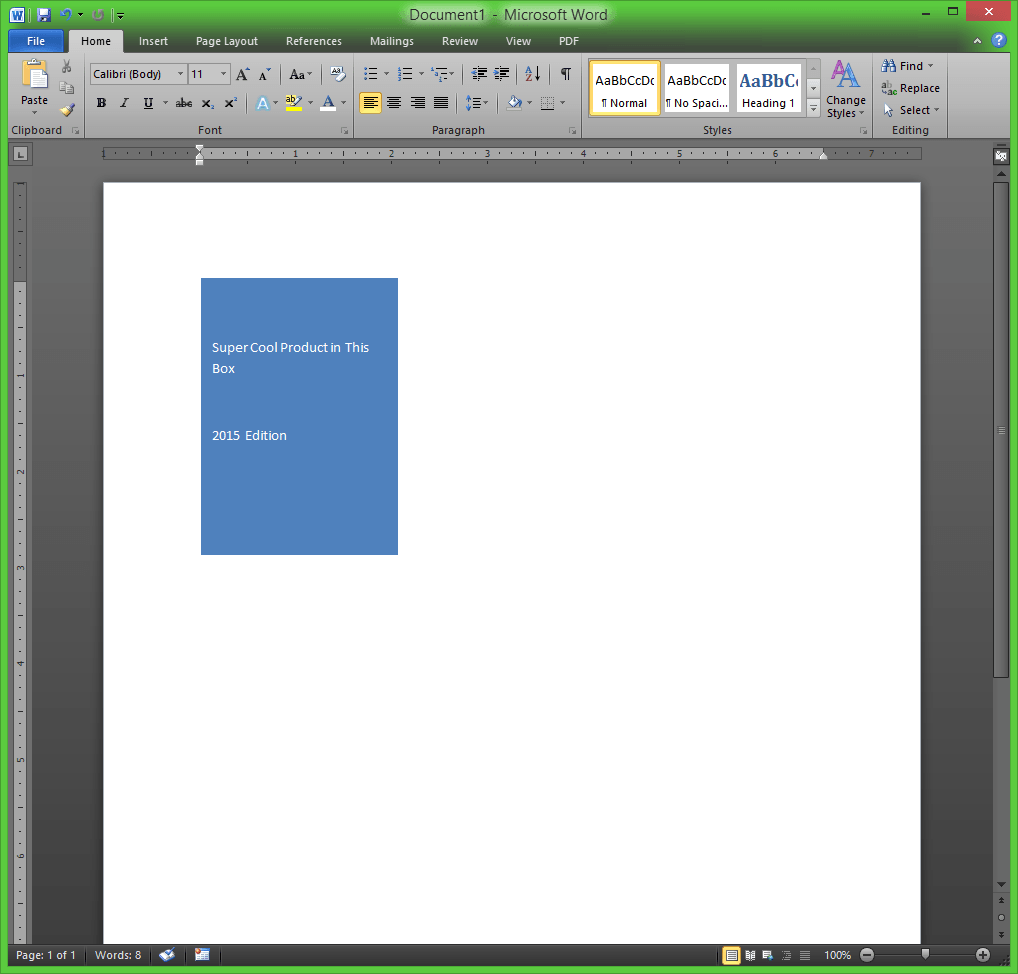
Just type the text you want to see on the box cover. You can vary the font, weight, and size to make it more interesting if you wish.
Step 3 – Add formatting
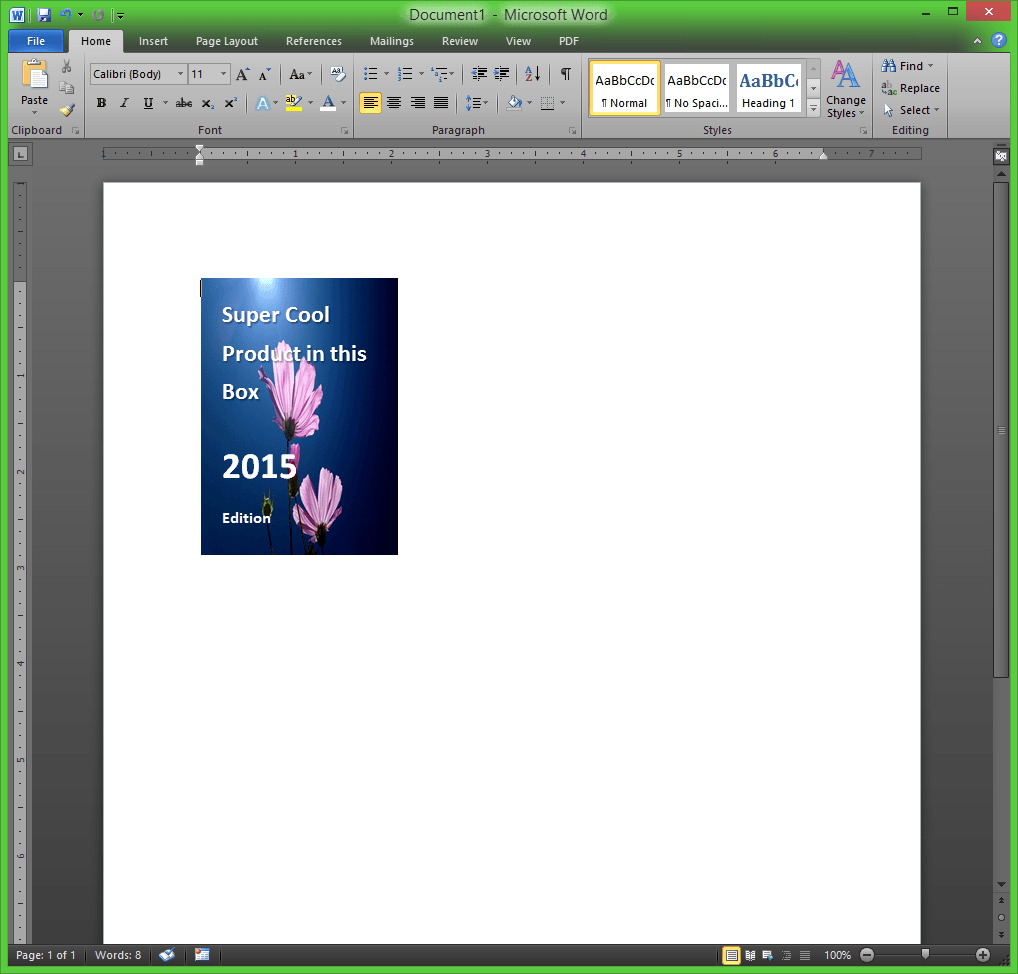
For this example, let’s make a boxshot that has the text over a photo-like image. To do this, we’ll make the following formatting changes to the boxes we’ve drawn and text we’ve entered.
- Change and enlarge the font for the box.
- Make the text white.
- Add a font border or shadow to help the text show up on the image.
- Remove the border on the box.
- Fill the background of the original box with an image.
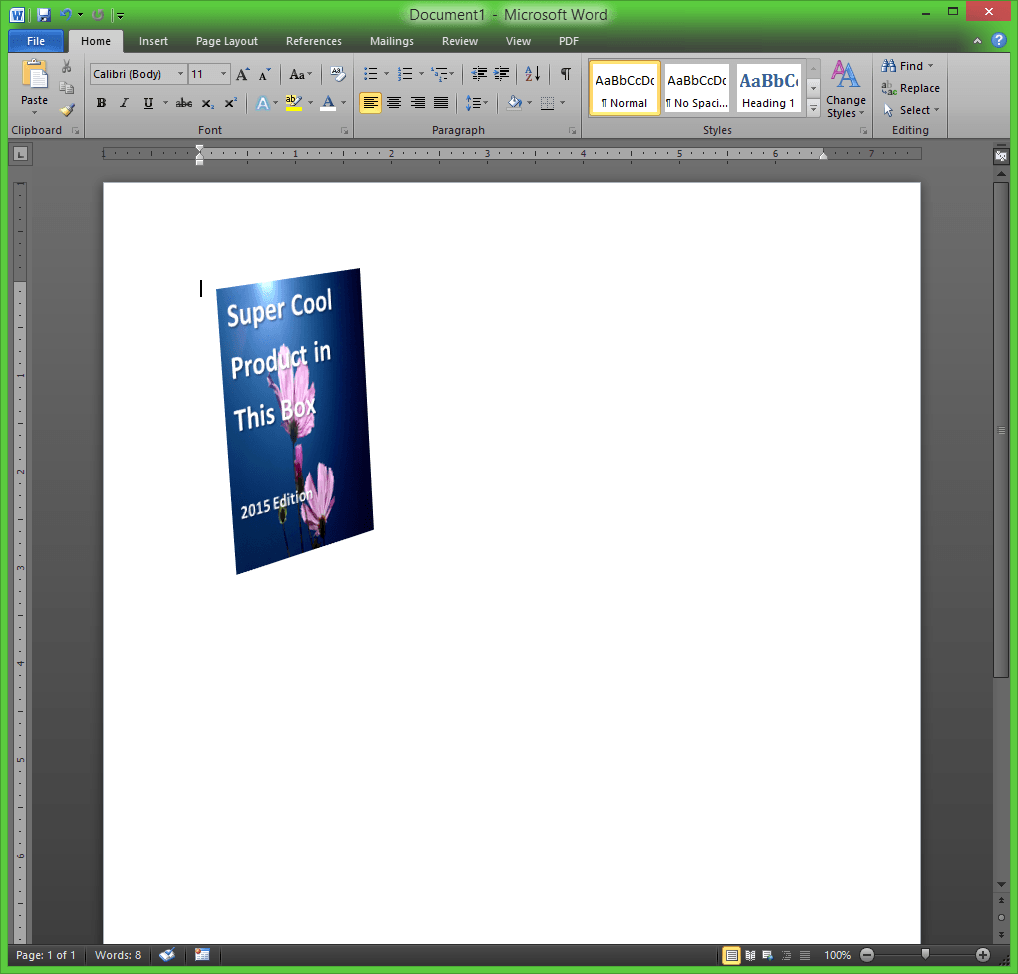
The main thing to do here is to get the set of boxes, text, and images to look the way you want the front of the box to look. By making the above changes to the blue rectangle and text, we may wind up with a view similar to the following.
If you don’t want to go crazy with the formatting and images, you don’t need to. You would create an image more like the first example above which is the green and white wire frame. The amount of formatting and such is totally up to your preferences.
Step 4 – Make it 3D
To make this appear as a 3D box, you’ll use the Drawing Tools in Word.
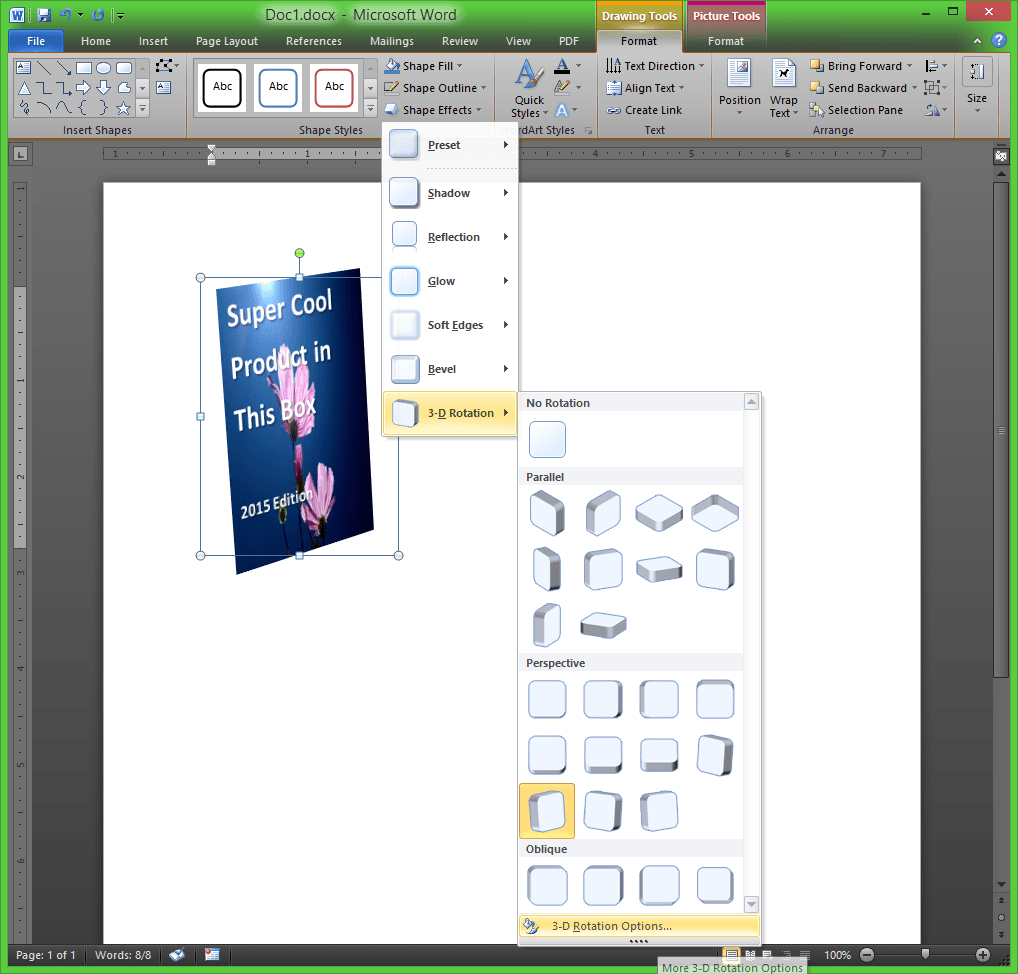
From the Drawing Tools menu (with your new box selected) click the Shape Effects button on Word’s ribbon.
Select 3-D Rotation, then select the shape in the lower-left of the Oblique shapes.
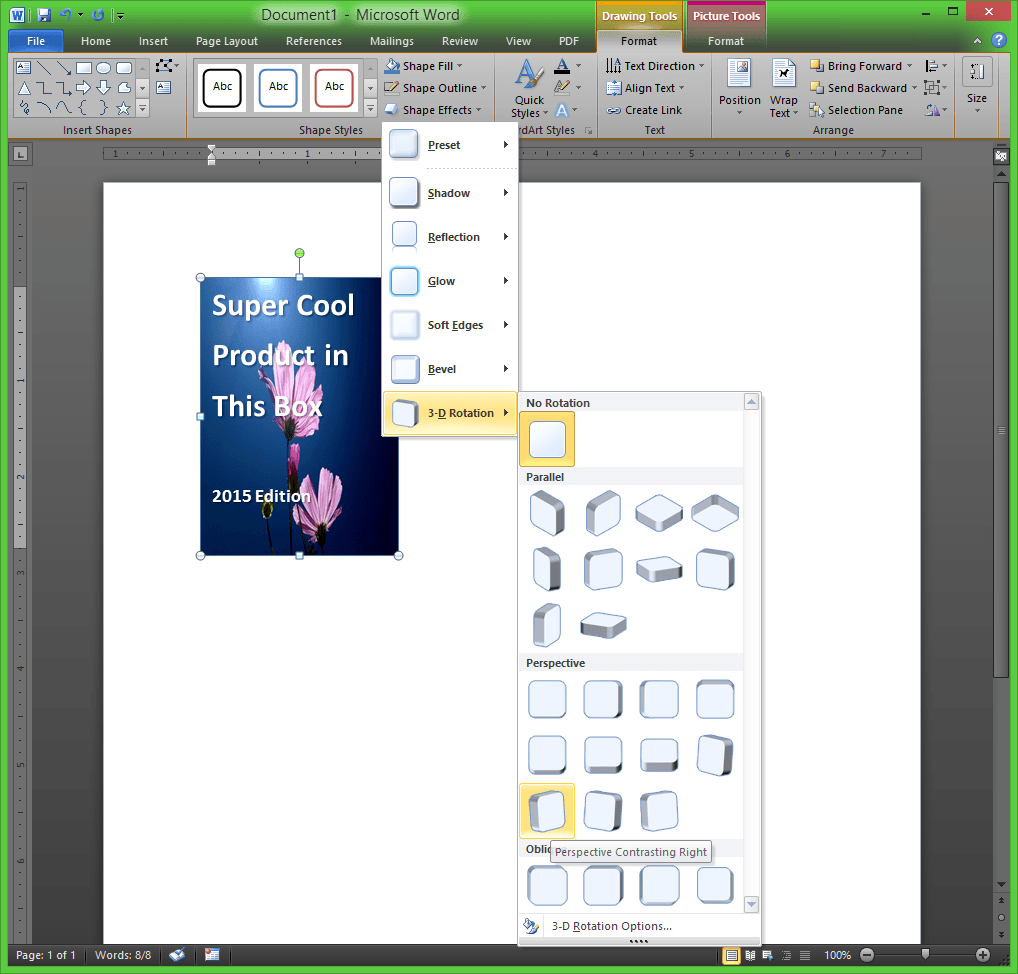
You’ll see the box start to take shape.
Step 5 – Give it some depth
With the new box selected, pick Shape Effects from the Format tab of the Drawing Tools menu.
Select 3-D Rotation.
Next, select 3-D Rotation Options.
In the Format Picture dialog box that appears, select the 3-D Format item in the left panel.
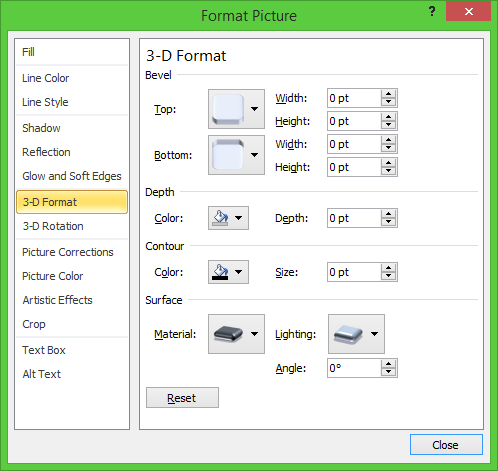
In the Bevel group, change the Height to 30pt. Leave the Width at 0 pt and then click the Close button.
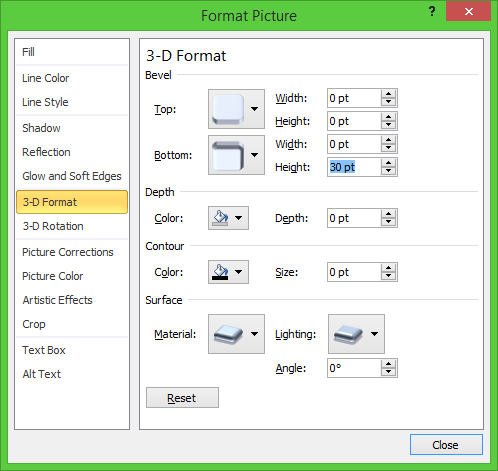
It’s looking more like a box now.
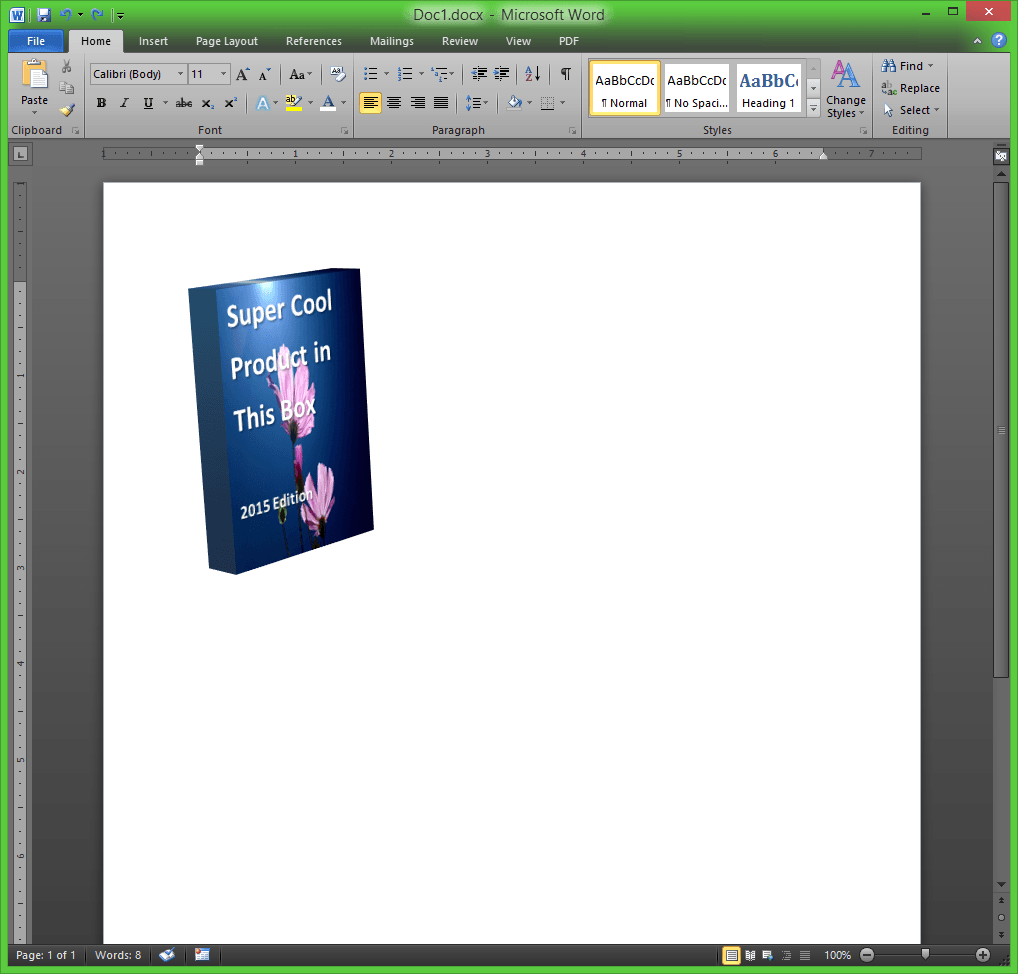
Step 6 – Convert the Word drawing to an image
There may be a better way to do this, but my way is to Copy the drawing to the clipboard.
Select the drawing and press Ctrl + C.
Next, paste the drawing back into Word. However, use the Paste button on the ribbon and make sure you paste as a picture and not a drawing object.

Now, you have a 3-D looking box. Change the shape of the box and you can make a jewel case or DVD/BluRay box. You can work with a square instead of a rectangle to create a jewel case. Make a smaller rectangle and make a DVD box. Who would have thought that you could use Word to make a 3d boxshot?


There you go.